Crochet Strawberry Keyring
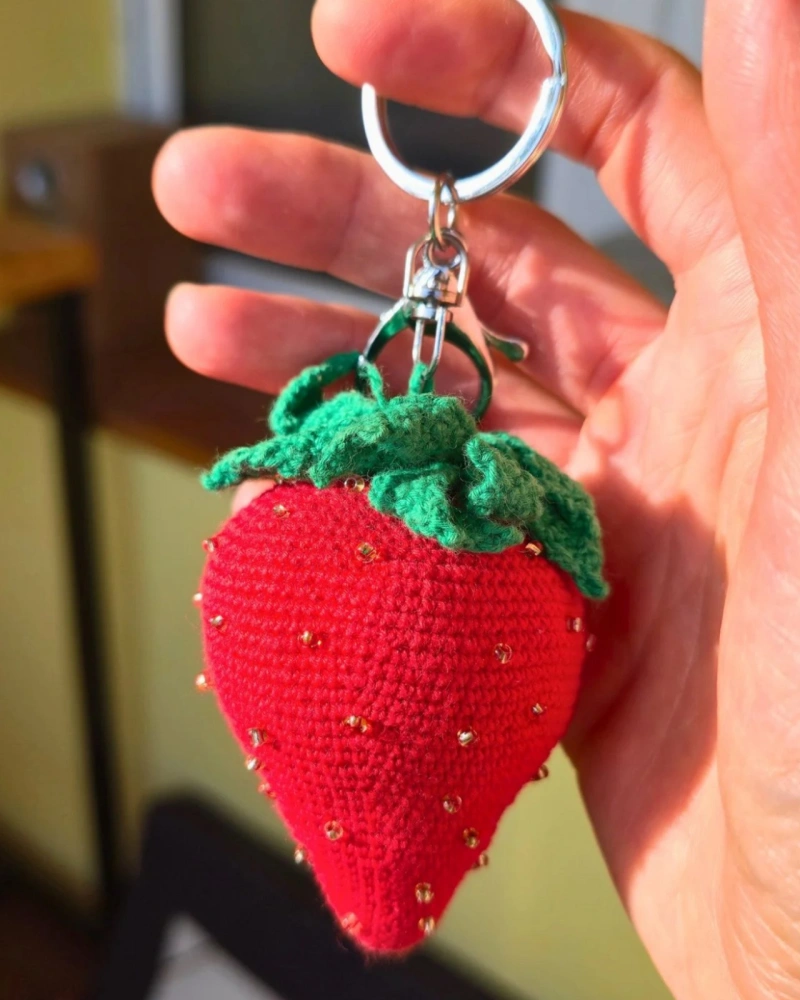
A plump 3D amigurumi strawberry with gold bead seeds.
Materials
- Red worsted-weight yarn (~30g)
- Green worsted-weight yarn for the leaves
- 3.5mm crochet hook
- Gold seed beads and a beading needle
- Polyester fiberfill for stuffing
- Silver swivel clasp and keyring
- Yarn needle and scissors
The process
This is a classic amigurumi project worked in continuous rounds of single crochet. I started with a magic ring, increased steadily to the widest point of the strawberry, then decreased back down to the tip, stuffing as I went. The shape comes naturally — it's essentially a slightly elongated oval with a pointed bottom.
The gold seed beads were added while crocheting, threading each bead onto the yarn before pulling the stitch through, which locks them in place without any glue. This technique takes a bit of patience but the result is much more durable than surface-gluing beads on afterward.
The green calyx leaves were crocheted separately as a small star shape — five short pointed petals worked outward from a centre ring — then stitched on top. The hardware was attached through the centre of the calyx before sewing it down.
Tips & lessons learned
- Thread all your beads onto the yarn skein before you start crocheting — you can't add them mid-project.
- Stuff the strawberry firmly so it holds its shape nicely on a keyring.
- Leave a long tail when fastening off the body — it's easier to use for sewing on the calyx.
- A stitch marker is essential for tracking the start of each round in amigurumi.